SPONSORED LINKS


| This section describes how to use the interface of the Sega Saturn-specific Direct Translator. For information on how to run the translator, see Using the MakeGame Plug-in on page 9 and Using Translators from the Command Line on page 15. |
You can get the Sega plug-in and documentation from the Sega web site. The Sega plug-in and its documentation are available to Sega-certified developers only.
To install the Sega GL translator:
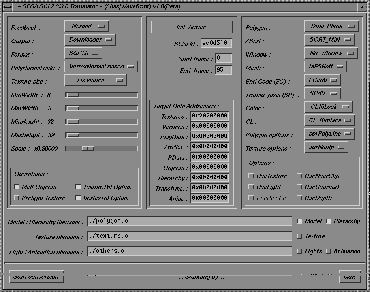
When you run the translator from MakeGame, the Sega GL Translator window appears. Use this window to set the options described below, then click Start conversion to begin.
Choose the amount of information you want during conversion.
DOS text - output Sega GL source code to a file using CR+LF as the line delimiter.
UNIX text - output Sega GL source code to a file using LF as the line delimiter.
Downloader - download the source code directly to a connected Sega Saturn.
| When you choose Downloader from the Output pop-up menu, a new section containing Downloader-related options appears. |
Choose the version (2.0 or 3.0) of Sega GL source code the translator will generate.
VertexNormal based - use the normals provided by Alias.
NEWELL's method - calculate new normals using Newell's method. Use this option if you have any problems with polygons seeming "flipped" after conversion.
Fixed - all output textures have the same size. Choose the width and height using the sliders below.
| When Texture size is Fixed, the minimum and maximum sliders become locked together, allowing you to set a single fixed size. |
Auto calculation - scale the output textures to a best fit within minimum and maximum values. Choose the minimum and maximum using the four sliders below.
The translator will scale the whole model by this factor before converting it to Sega GL source code.
Flatten the hierarchy of objects into one large Sega GL object.
Optimize the texture table (do not repeat texture pieces).
Apply a simple pre-light operation to the textures. Currently this operation only uses the polygon normals.
Optimize the vertex table (do not repeat vertices at the exact same location). This option is only useful if Melt Objects is turned on.
| This section appears when you choose Downloader from the Output pop-up menu. |
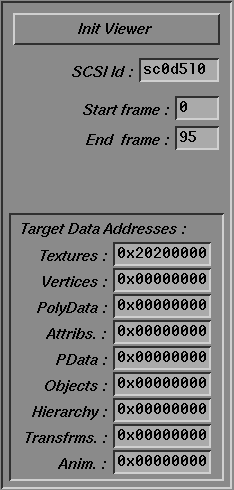
Click this button to reset the SCSI connection and download the monitor program to the connected Saturn CartDev.
Click this button when you turn on the Saturn, and to reset the viewer.
The SCSI identifier on the SGI side of the connection to the Saturn CartDev.
Start and end frames of the animation to convert.
These text boxes allow you to enter exact memory locations when downloading data to the Saturn.
Enter 0x00000000 for continuous memory allocation. Refer to the Saturn programming manuals for more information.
These options control standard Sega GL settings and modes. Refer to the Sega GL specifications for information.
| Use this section to enter filenames when you choose DOS text or UNIX text from the Output pop-up menu. |
Filename for the file containing model and hierarchy information.
Use the Model and Hierarchy checkboxes to choose what information to include in the file (usually you will leave both options on).
Filename for the file containing texture information.
Use the Texture checkbox to choose whether to output texture information.
Filename for the file containing lights and animation information.
Use the Lights and Animation checkboxes to choose what information to include in the file.
| Lights are not converted in this release. |
The directory where exported files are created. This is the same as the Export directory field of the MakeGame window.
Parameters: a valid path to a directory
Default: '.' (the current working directory)
The Sega translator's Sega GL source code output is flexible. The translator can output three files:
| Lights are not converted in this release. |
If you have problems with SCSI communications:
The following screen appears after the CartDev is initialized: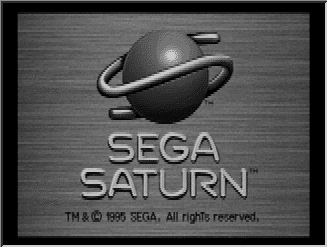
The following screen appears after the monitor program is downloaded:
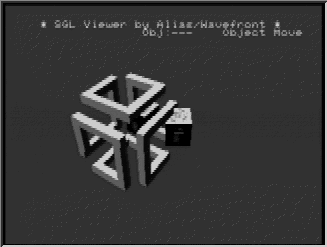
The following screen appears after the Alias|Wavefront viewer program is downloaded: